Children’s artwork is a wonderful expression of creativity and imagination. From finger paintings to school projects, these pieces often accumulate quickly, making it a challenge to keep them organized. Instead of letting piles of drawings and crafts take over your home, try these practical tips to neatly store, display, and enjoy your kids’ art.
Why Organize Kids’ Artwork?
Before diving into the tips, it’s helpful to understand the benefits of organizing your child’s art:
– Preserves memories: Organized art makes it easy to revisit your child’s creative milestones.
– Reduces clutter: Keeping artwork tidy prevents it from piling up and overwhelming your space.
– Encourages creativity: A designated space for art projects can motivate kids to create more.
– Teaches responsibility: Involving children in organizing their art helps develop good habits.
Tips for Organizing Kids’ Art
1. Set Up a Dedicated Art Station
Create a specific area where your child can draw, paint, and craft. This could be a corner of a room, a small table, or a craft cabinet stocked with basic supplies. Having a designated place helps contain mess and keeps all materials and works-in-progress together.
2. Use Display Frames and Corkboards
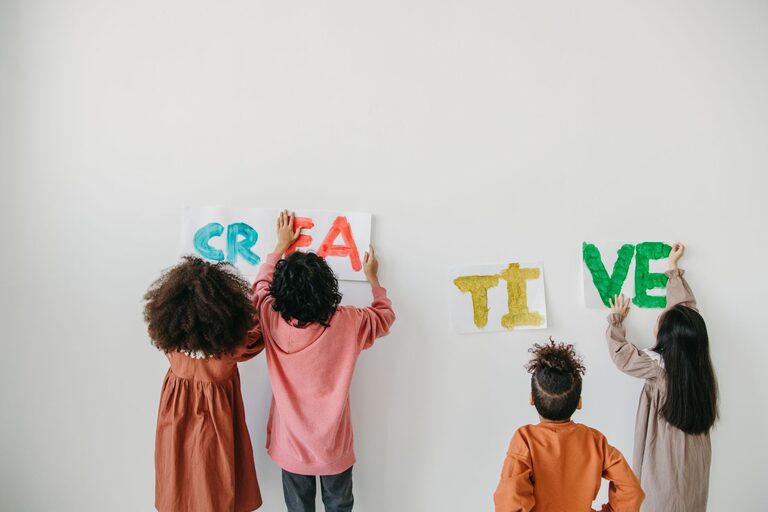
Display your child’s favorite creations by hanging frames or corkboards in common areas such as hallways or their bedrooms. Rotating artwork every few weeks keeps the display fresh and highlights their evolving skills.
3. Establish an Art Filing System
For keeping flat artwork organized and protected over time, consider these options:
– Accordion folders: Sort by age, school year, or project type.
– Binders with plastic sleeves: Insert drawings or photos of 3D crafts.
– Portfolio cases: Large, flat cases designed to store oversized pieces without folding.
Labeling folders or binders makes it easier to find and review artwork later.
4. Digitize Artwork for Long-Term Storage
To save space while preserving memories, scan or photograph your child’s art. Digital files can be stored on your computer or cloud services. You can also create:
– Digital photo books featuring best works.
– Slideshows for sharing with family.
– Personalized gifts such as calendars or greeting cards.
This approach is especially useful for bulky or fragile projects that are hard to keep physically.
5. Create a Rotation System for New Pieces
Since kids produce art steadily, establish a routine for sorting new creations:
– Display a few recent pieces for a week or two.
– Store or digitize the others.
– Recycle or repurpose less important artworks with your child’s permission.
This system ensures that only the most meaningful pieces take up permanent space.
6. Make Art Storage Fun and Accessible
Involve your kids in choosing storage solutions like colorful boxes, bins with labels, or decorative folders. Clearly accessible containers encourage children to put their art away independently and take pride in organizing their creations.
7. Repurpose Artwork Creatively
Find ways to give your child’s art a new life:
– Turn drawings into wrapping paper.
– Cut out elements to make greeting cards.
– Use large paintings as backgrounds for scrapbooks.
This not only reduces clutter but also celebrates their creativity in new ways.
8. Schedule Regular Decluttering Sessions
Set a reminder every few months to review stored artwork with your child. Decide together which pieces to keep, digitize, or let go. This helps prevent overload and teaches valuable decision-making skills.
Final Thoughts
Organizing your kids’ artwork doesn’t have to be overwhelming. By setting up simple systems for displaying, storing, and rotating their creations, you create a clutter-free environment that honors their creativity. Remember, the goal isn’t to keep every single piece but to celebrate the memories and encourage your child’s artistic journey.
Try these tips today and enjoy a beautifully organized collection of your child’s artistic achievements!